Part 1:
Firstly, the domain nameserver need to be updated as below so that it is pointing to our FREE DNS ZONE. Kindly allow 18-72 hours for domain DNS propagation period before it is fully resolved.
**If your domain name already attached to existing DNS Zone records, it is advisable for you to follow the "Part 2" first before you proceed to update the domain nameserver to minimize the downtime.
EyHost Domain Default NS details
dns3.eyhost.biz
dns4.eyhost.biz
dns5.eyhost.biz
dns6.eyhost.biz
Part 2:
Next, in order to manage your domain via the portal account, kindly follow this step as listed below:
1. Log into our Portal account at
https://portal.eyhost.biz/clientarea.php
2. On top of the menu, Click > Domains > My Domains.
3. Go to settings for your desired domain name
3. Click DNS Management from left side menu
4. Set hostname, IP and DNS record type.Â
Example:
Your server IP: 8.8.8.8
Domain: example.com
Now give www in hostname filed, and record type set A or cname (Depends on your hosting server settings) and then give server IP then save the settings.
5. Your domain DNS zones will be showing up on the bottom of the list.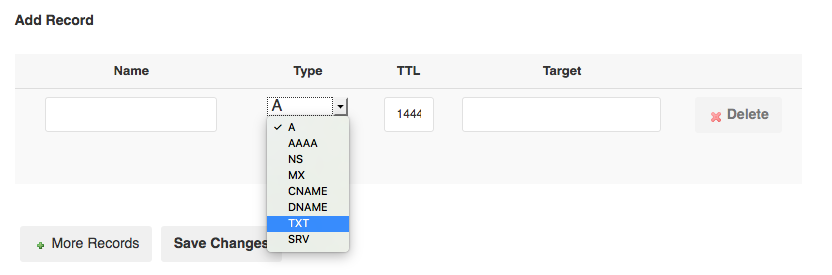
8. Click on Save Changes for each DNS records updated.
